Thunderwood Top-Quality Home Repair and Remodeling Services
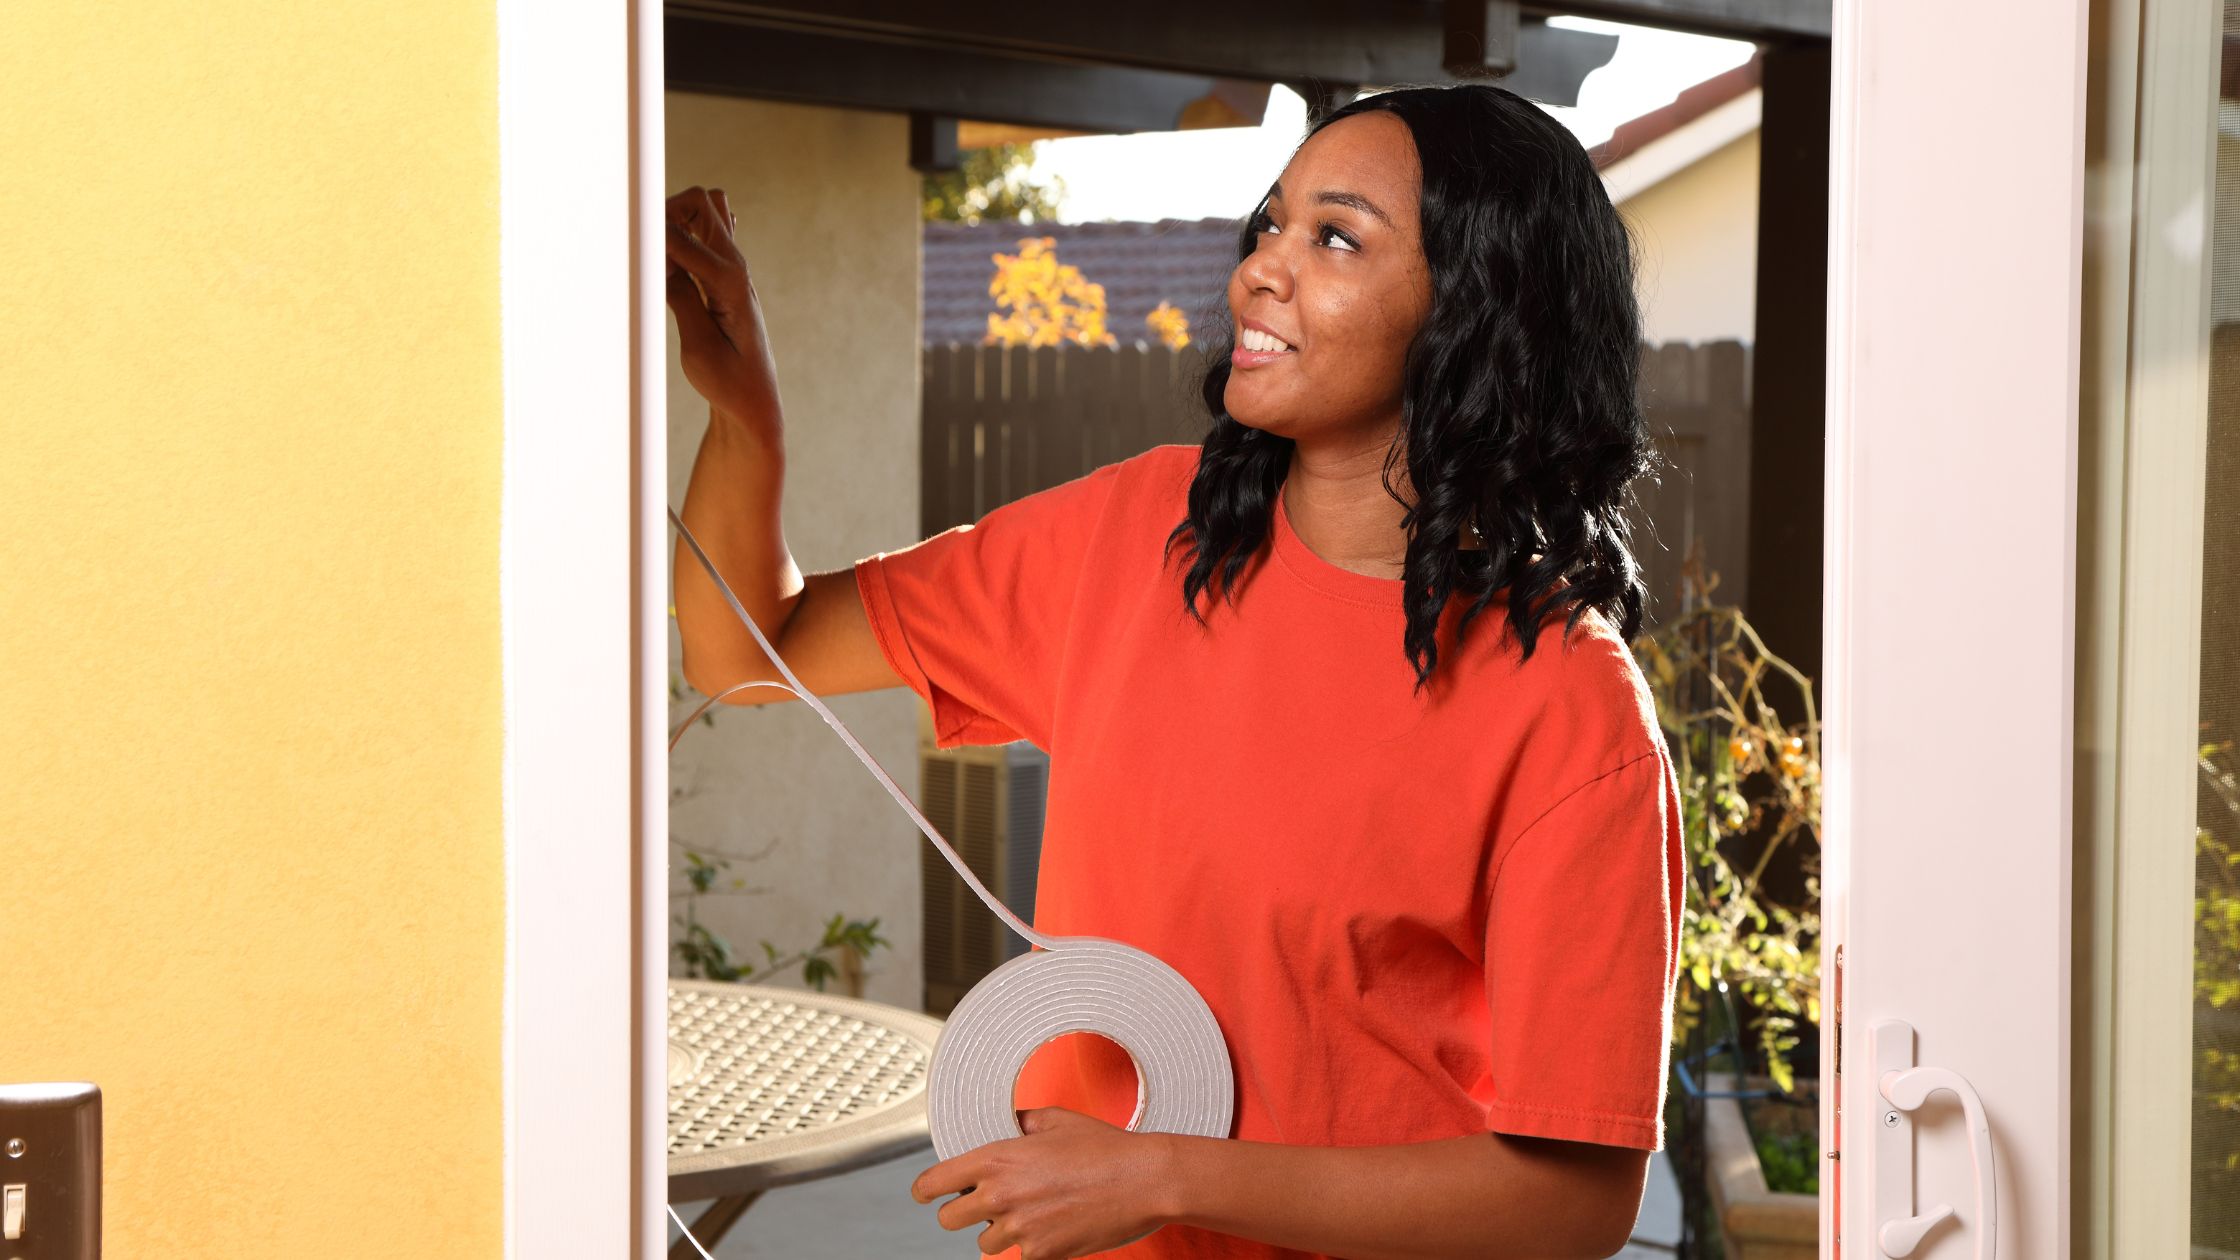
As the seasons change, every homeowner knows the importance of maintaining a comfortable and energy-efficient living space. A great way to achieve this is by using weatherstripping techniques to seal gaps and cracks around doors and windows. Weatherstripping not only enhances your home’s insulation but also helps save on energy bills. In this blog post, we’ll delve into expert tips from a handyman on how to effectively use weatherstripping for a more comfortable and energy-efficient home.
Why Weatherstripping Matters
Before we dive into the expert tips, let’s understand why weatherstripping is important:
Energy Efficiency: Weatherstripping seals gaps, preventing drafts and outdoor air from entering your home. This means your heating and cooling systems work more efficiently, saving you money on energy bills.
Comfort: By sealing gaps, weatherstripping ensures a consistent indoor temperature, making your home more comfortable year-round.
Durability: Properly installed weatherstripping can extend the lifespan of your doors and windows by reducing wear and tear caused by moisture and drafts.
Expert Tips for Effective Weatherstripping
Now, let’s explore the expert tips to make the most of weatherstripping:
1. Choose the Right Material:
Selecting the appropriate weatherstripping material is crucial. Common options include adhesive-backed foam tape, V-strip, door sweeps, and silicone caulk. The choice depends on the location and size of the gap.
2. Thoroughly Inspect Your Doors and Windows:
Carefully examine all potential gaps and cracks around doors and windows. Look for daylight or feel for drafts on a windy day.
3. Clean and Prepare the Surface:
Before applying weatherstripping, clean and dry the surfaces where it will be installed. Removing dirt and debris ensures a proper seal.
4. Measure and Cut Precisely:
Measure the length needed for each strip accurately. It’s essential to cut weatherstripping materials to the correct size to avoid gaps or overlaps.
5. Install Weatherstripping Securely:
Apply the chosen weatherstripping material firmly but not too tight to prevent distortion. For door sweeps, ensure they touch the floor without dragging.
6. Test for Proper Sealing:
After installation, check for any gaps or cracks by closing doors and windows. If needed, make adjustments to achieve a tight seal.
7. Regular Maintenance:
Weatherstripping can wear out over time. Regularly inspect and replace it when signs of wear or damage appear.
8. Consider Professional Help:
For complex installations or if you’re unsure about the process, don’t hesitate to seek assistance from a professional handyman.
You can effectively weatherstrip your doors and windows, improving your home’s energy efficiency and comfort. A well-insulated home not only saves you money but also contributes to a greener, future. So, grab your weatherstripping materials and start sealing those gaps today! Your home and wallet will thank you.
Ready to tackle your DIY project with confidence? Let Thunderwood Repairs LLC be your guiding handyman. Contact us today for expert advice, or assistance to make your DIY project a resounding success!

0 Comments