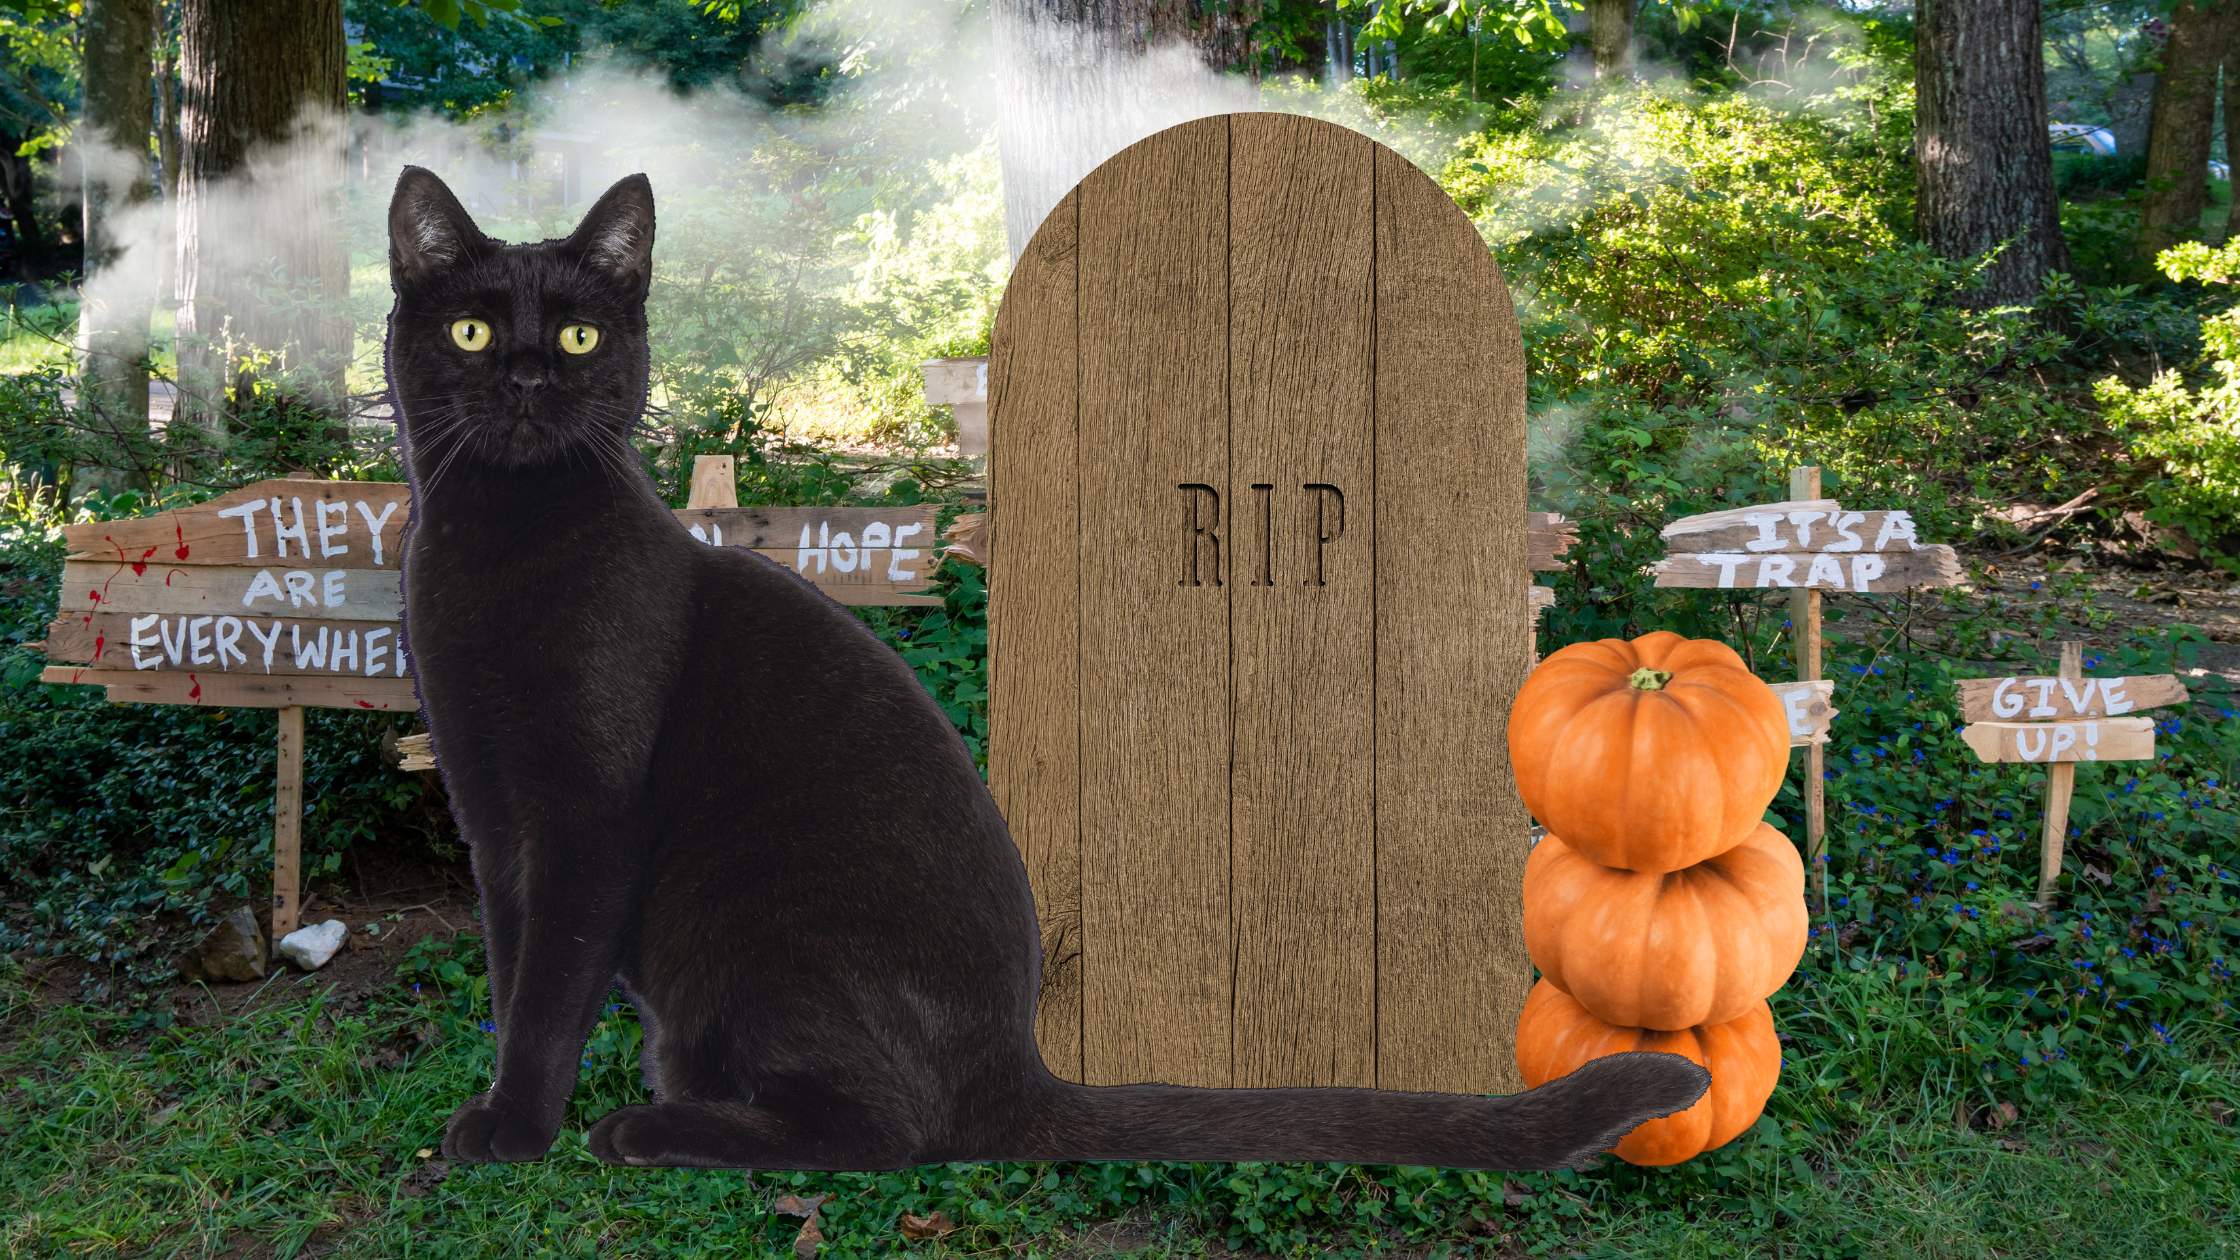
DIY Halloween Decorations
Are you looking for ways to decorate your home for Halloween? Thunderwood Repairs Handyman Service is here to help you with tips for creating spooky DIY Halloween decorations! In this post, we will guide you on how to make tombstones from plywood. This is an affordable and easy option that will make your home stand out in the neighborhood. Whether you’re a Halloween enthusiast or just want to add some festive fun to your home this spooky season, these DIY tips are tailor-made for you. Keep reading to discover more!
Plywood Tombstones
Step 1: Gather your materials
Before you start making your tombstones, it is essential to gather your materials. You will need a plywood sheet, a saw, sandpaper, black paint, white paint, and a paintbrush. You can also use a stenciling kit for painting letters or messages on the tombstones. You can buy all these materials at your local hardware or craft store. For the plywood sheet, we recommend using a 4 x 4-foot board to create large tombstones that are visible from afar. You will also need a jig-saw a something stable to cut the plywood on. Need supplies Lowes has all of these items in one stop.
Step 2: Cut the plywood into tombstone shapes
Using a saw, cut the plywood sheet into the desired shape of your tombstones. You can choose to create different shapes and sizes for an eerie effect. Once you have cut them, use sandpaper to smooth out any rough edges. You can also give them a weathered look by sanding the edges and corners.
Step 3: Paint the tombstones
Now it’s time to paint your tombstones! Using black paint, paint the entire board and let it dry. You can choose to add some white or gray paint to give it a stone-like texture or make some cracks on the surface. Once the black paint is dry, use white paint to add designs or messages to your tombstones. You can use stencils or freehand to create spooky messages such as “RIP,” “Beware,” or even your family members’ names.
Step 4: Set up your tombstones
After the paint is dry, it’s time to set up your tombstones. You can place them on your lawn or front yard, using stakes to keep them in place. You can also add some lighting or spider webs to create a haunting atmosphere. Your neighbors and trick-or-treaters will surely be impressed by your creativity and eerie decorations!
Step 5: Store your tombstones
After Halloween is over, you can store your tombstones for the next year. Make sure to clean them with a damp cloth and let them dry completely before storing them in a dry place. They will be ready to use for next year’s spooky celebrations!
Making tombstones from plywood is an easy and affordable option that will impress your neighbors and make your home stand out. Follow these simple steps, and you’ll have your Halloween decorations up in no time! Happy Halloween from Thunderwood Repairs Handyman Service! Looking for more DIT Tips? Checkout our other projects and tips on our Blog.


0 Comments