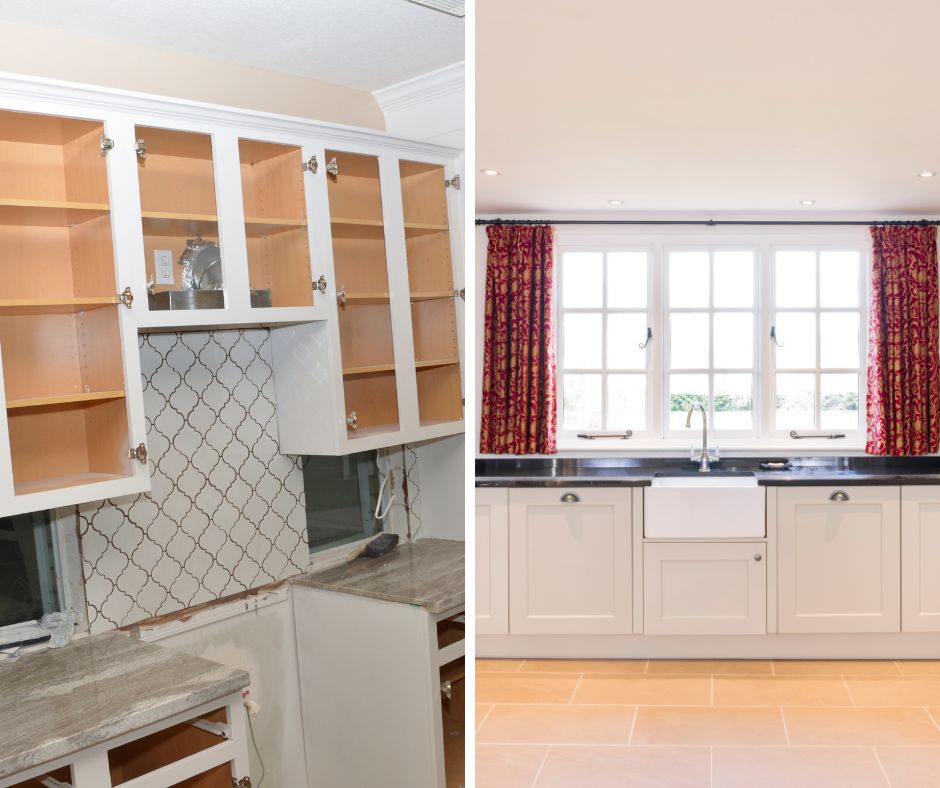

Is your kitchen feeling a bit dull and outdated? One of the most transformative DIY projects you can undertake is giving your kitchen cabinets a new lease on life with a fresh coat of paint.
Here’s how to do it:
Step 1: Prepare and Clean: Before you begin, remove all cabinet doors, hardware, and drawers. Clean surfaces thoroughly with a mild detergent to remove grease and grime. Sand the surfaces lightly to create a smooth base for the paint to adhere to.
Step 2: Choose the Right Paint: Opt for a high-quality, durable paint that is specifically formulated for cabinets. Enamel or latex paints in a semi-gloss or satin finish are excellent choices as they provide a smooth and easy-to-clean surface.
Step 3: Prime for Success: Applying a primer is essential to ensure even coverage and proper adhesion of the paint. Use a high-quality primer that is compatible with your chosen paint.
Step 4: Time to Paint: Use a brush or roller to apply thin, even coats of paint. Start with the cabinet frames and then move on to the doors and drawers. Allow each coat to dry completely before applying the next. This may take a few coats to achieve the desired finish.
Step 5: Attention to Detail: Pay extra attention to details like edges, corners, and intricate designs. A small brush can help achieve clean lines and a professional finish.
Step 6: Reassemble and Enjoy: Once the paint is fully dry, reattach the hardware and reassemble the cabinets. Stand back and admire your revitalized kitchen space. You’ve just given your kitchen a budget-friendly makeover that makes a huge impact!
Remember, patience is key when it comes to painting cabinets. Taking your time and following these steps will lead to fantastic results. Whether you choose a classic white or a bold color, your freshly painted kitchen cabinets will breathe new life into your entire culinary haven. Happy painting!
